Installing an electrical outlet might seem like a challenge, but with the right preparation and knowledge, you can tackle this project confidently. Whether you’re looking to add convenience to your living space or increase the functionality of your outdoor area, understanding the essentials of electrical outlet installation is crucial.
Let’s take a look at the key steps to prepare for electrical outlet installation, the tools you’ll likely need, and the safety measures you should take.
What Do I Need For Electrical Outlet Installation?
When it comes to electrical outlet installation, your first step should always be making sure you have all the tools and materials you need. Here’s a list of items you may need to ensure a smooth installation process:
Tools and Materials:
- New electrical outlet
- Circuit tester
- Screwdrivers (flathead and Phillips)
- Wire stripper
- Wire nuts
- Electrical tape
- Voltage tester
- Needle-nose pliers
- Wire cutters
- Electrical box
- Cable connectors
- Electrical cable (Romex)
- Wire staples
- Safety goggles
- Work gloves
- Stud finder (if applicable)
Remember that safety always comes first. Be sure to use protective gear, including safety goggles and work gloves, to protect yourself during the process.
Can You Install An Outlet Without An Electrician?

While installing a new electrical outlet might at first appear difficult, it is possible to do it yourself with some basic knowledge of electrical systems and proper tools. However, if you’re unsure about any aspect of the installation process, it’s always best to consult a qualified home electrician to ensure the work is done correctly and safely.
Here’s a simplified step-by-step guide to installing a new electrical outlet:
Step 1: Turn Off the Power
Before you begin any electrical work, turn off the power to the circuit you’ll be working on. Double-check that the power is off using a circuit tester to ensure your safety.
Step 2: Find the Box Location
Choose the location for your new outlet and use a stud finder to locate any wall studs. This step is crucial as it will determine where you can install the outlet.
Step 3: Install the Box
Cut a hole for the electrical box in the wall, making sure it’s flush with the wall surface. Insert the box into the hole and secure it in place.
Step 4: Run the Cable
Run the electrical cable (Romex) from an existing outlet or junction box to the new location. Secure the cable using wire staples and feed it through the back of the box.
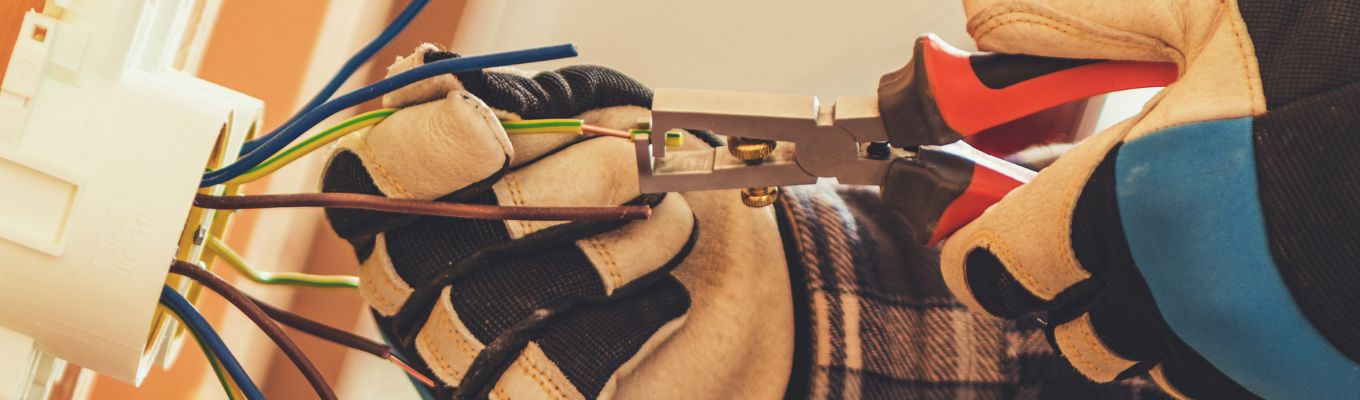
Step 5: Connect the Wires
Strip the cable’s outer sheathing and connect the wires to the outlet. Typically, you’ll have a black (hot), white (neutral), and green or bare (ground) wire. Follow the manufacturer’s instructions for proper connections.
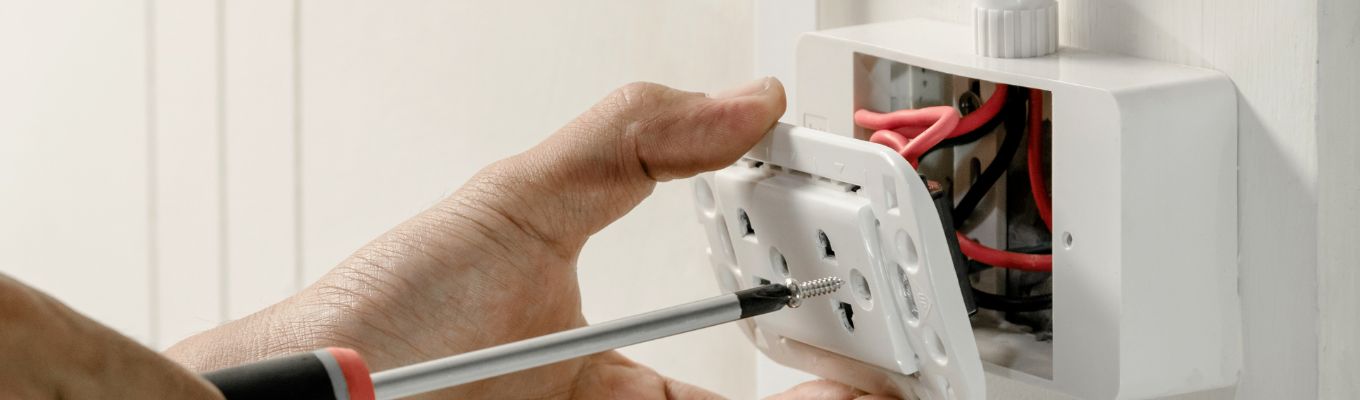
Step 6: Attach the Outlet
Secure the outlet to the box using screws and attach the cover plate.
Step 7: Test and Restore Power
Use a voltage tester to ensure the wiring is correct. Once verified, turn the power back on and test the outlet using a plug-in device.
Remember, this is a general overview of the installation process, and it’s important to follow local electrical codes and regulations. If you’re unsure about any step, consulting a professional electrician is advisable.
Can You Install An Electrical Outlet Outside?
Yes, you can install an electrical outlet outside, but it’s a bit more complex than installing an indoor outlet due to weatherproofing and safety considerations.
Outdoor outlets are incredibly useful for powering tools, lighting, and other devices in your yard, patio, or deck. As with light switch repair, you should always prioritize safety before starting work.
Here’s what you need to know about installing an electrical outlet outdoors:
Step 1: Choose the Location
Select a suitable location for the outdoor outlet. It should be conveniently located and away from water sources. Make sure to follow local electrical codes and regulations regarding outdoor installations.
Step 2: Gather Weatherproof Materials
Outdoor outlets require weatherproof covers and boxes to protect them from the elements. Make sure to use outdoor-rated electrical boxes and covers to ensure safety.
Step 3: Install a GFCI Outlet
A Ground Fault Circuit Interrupter (GFCI) outlet is a must for outdoor installations. It provides added protection against electrical shocks, which is crucial in outdoor environments.
Step 4: Run the Wiring
Run the appropriate weatherproof electrical cable (UF-B cable) from an existing indoor circuit to the outdoor location. Ensure the cable is buried to the appropriate depth and protected to prevent damage.
Step 5: Wiring and Connection
Follow the same wiring and connection steps as you would for an indoor outlet. Make sure all connections are secure and properly insulated.
Step 6: Test and Verify
Before sealing the outlet in the weatherproof box, test it thoroughly using a voltage tester and plug-in device. Once you’re confident it’s working correctly, install the weatherproof cover.
Can An Electrical Outlet Go Bad?
Yes, electrical outlets can go bad or become faulty over time. There are several reasons why this can happen:
Wear and Tear: Over years of use, electrical outlets can become worn out. The internal components, such as the receptacles and terminals, can become loose or corroded, leading to poor electrical connections.
Overloading: Plugging in too many devices or appliances that draw more current than the outlet can handle can lead to overheating and damage to the outlet.
Physical Damage: Physical damage to an outlet, such as cracks, broken parts, or bent prongs from plugs, can cause it to malfunction.
Loose Wiring: Loose or improperly connected wiring inside the outlet box or at the outlet itself can lead to poor electrical connections and potentially cause the outlet to fail.
Moisture or Water Damage: Exposure to moisture or water can corrode the internal components of an outlet and cause it to malfunction or become unsafe.
Aging: Like many electrical components, outlets have a finite lifespan, and their performance may degrade over time due to the natural aging process.
If you suspect that an electrical outlet is no longer working correctly or if you notice any signs of damage, it’s essential to address the issue promptly. Damaged or malfunctioning outlets can be a safety hazard, potentially leading to electrical fires or shocks. Remember that investing in a professional ensures the job is done safely and up to code.
Installing an electrical outlet, whether indoors or outdoors, can enhance the functionality and convenience of your living space and can make for a fun DIY project. However, if you’re unsure or hesitant about any aspect of the installation process, consulting a qualified electrician is always recommended!